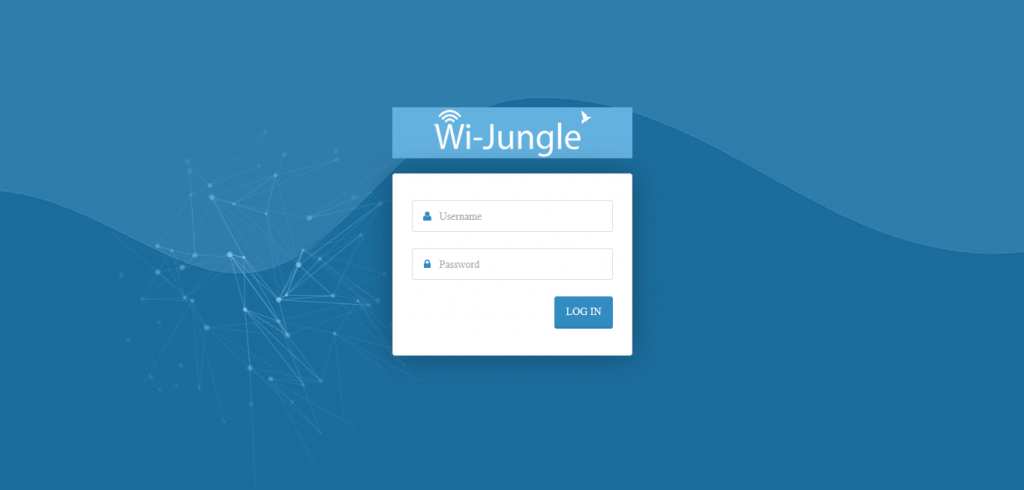
The installation guide describes in short steps to assemble the appliance and explains how to open the WiJungle Admin Dashboard. The Admin Dashboard then further allows you to configure every aspect of the security and gateway system.
Assemble and Power On
Step 1 – Unpack the box, connect the appliance to the power supply via adapter/power cable and turn it on.
Configure to Open WiJungle Admin Dashboard
Step 2 – Plugin the one end of RJ 45 Ethernet cable in Port C or Port 3 or LAN 2 and another end with your laptop.
Step 3 – Connect the other end of RJ 45 cable in Admin PC. Go to Network & Sharing Center (in Windows PC) or Network Connections/Manager (in Linux PC) or Network (in MAC PC) and set the Static IP as 10.0.0.2 and subnet mask 255.255.255.0/24 and default gateway 10.0.0.1
Step 4 – Open the browser and hit – https://login.wijungle.com:8083, If Port A is connected via DHCP internet else use https://10.0.0.1:8083 then hit enter
Step 5 – Click on Advanced, followed by add exception and confirm security exception to open the WiJungle Admin Dashboard. (recommended browser firefox or google chrome)

Step 6 – Enter default Username as admin and Password as admin1A@ to login.
Step 7 – Now enter License Key shared over the registered email or ask your supplier to provide that.
Step 8 – Entering the correct license key will redirect you to Home Page and appliance is ready for further configurations.
